When I’m working with other teachers, one of the most popular things I do is share some of my fave tech tips, and my love for (good) PowerPoint is one thing I like to share.
One tip is that you can crop any picture to any shape in PowerPoint with a click of a couple of keys. It’s so easy!
I don’t promote it very much, but I have a YouTube channel where I sometimes put tutorials or other goodness. If you haven’t seen it, you are not alone. Not even close.
I made a short (fewer than five minutes) tutorial on how to do this, and I think you’ll find it useful.
There’s a little bonus at the end of the video that shows you how to insert pictures into a font, too. Also, if you listen closely, you’ll hear me say “rectangle” when I mean “oval,” so know that yes, I do know my shapes.
How to Crop a Picture to a Shape in PowerPoint
Step-by-Step
If you don’t want to watch the video, let me walk you through it.
Step 1: Open a PowerPoint slide
Step 2: Select a picture (insert – picture)
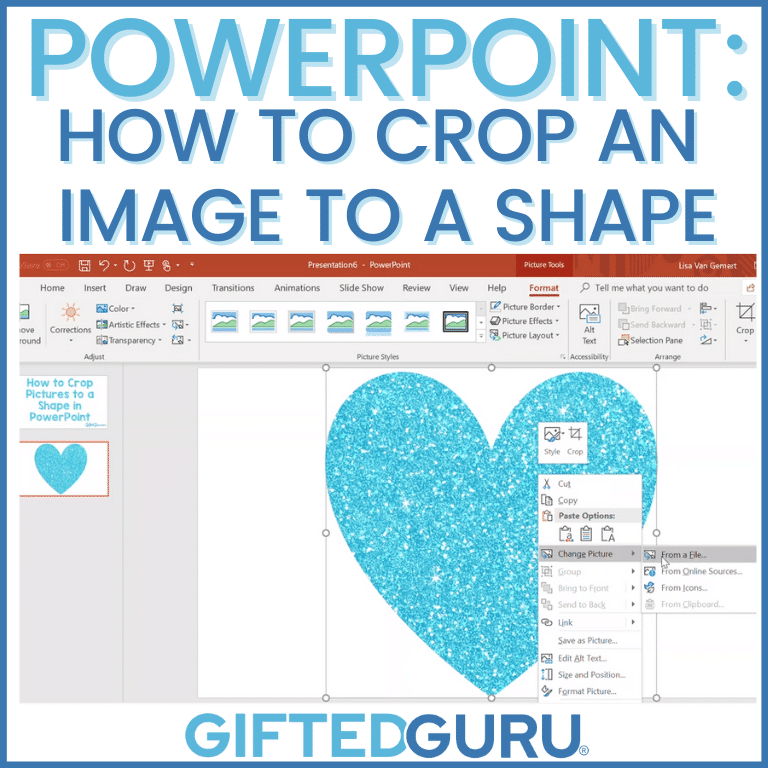
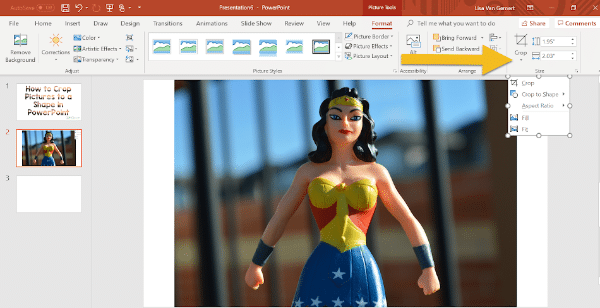
Step 3: On the “Format” tab, click the drop-down menu below “Crop.”
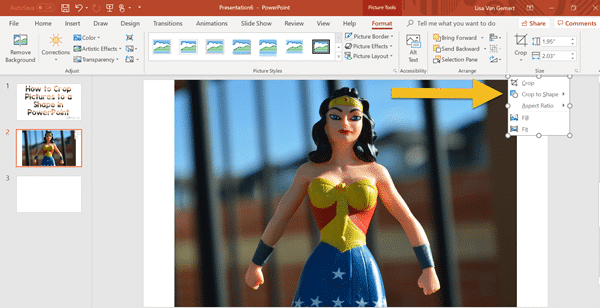
Step 4: Select “Crop to Shape”
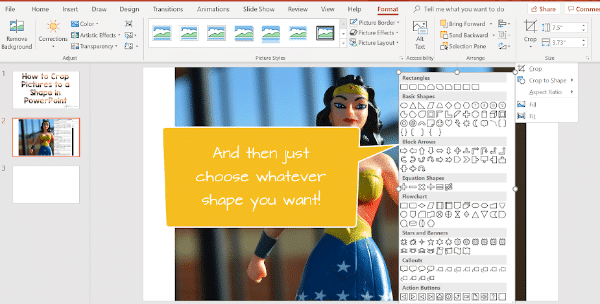
Step 5: Choose your shape
It will then look like whatever shape you choose, like this:
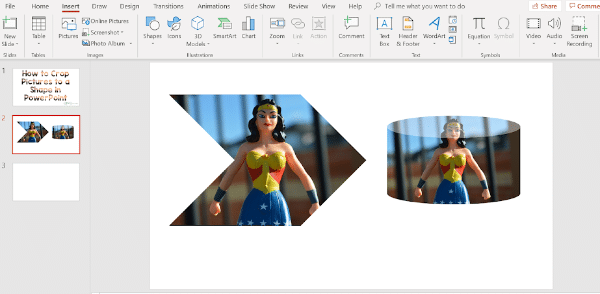
Step 6: Keep changing the shape because it’s so fun (optional)
Simple tips like these make it easy to make really cool looking things super quickly!
If you like the glittery papers, I got them for just $3 at Avenie Digital’s TeachersPayTeachers store.
Classroom Application
If you’re wondering what this has to do with gifted ed, I’ll tell you.
- Teachers who can do cool stuff gain credibility with students.
- If you know, you can share it with students, who can then create their own cool stuff.
- Gifted kids love cool stuff, as does virtually everyone.
Specifically, here are ideas:
- Students or teachers can crop pictures into shapes that match the content. For example, cropping a picture of Saturn into a circle and then into a ring would allow you to add a ring of Saturn around Saturn. This technique allows the image to become a metaphor.
- It allows you to fit images exactly how and where you would like them. You can crop the image to the shape you need.
- It gives another way for younger children learning shapes to interact with them. Students can take an image and crop it over an over, like a bingo game (“Crop your picture into an oval” “Now crop your picture into a pentagon” “Now crop your picture into a triangle.”)
- The list goes on and on, but you get the idea.
Any Tips You’d Like To Know?
If there’s something you’ve been wanting to know how to do, please let me know! If I know, I’ll show you.
You may also like:
- To subscribe to my YouTube channel to see new tutorials
- This tutorial on how to create printables in PowerPoint (my most popular video ever, ever, ever)
- PowerPoint Countdown Timer Slides
And, of course, to stay in the loop, sign up to receive my free monthly newsletter and receive a free guide for helping gifted children thrive in school.